BuddyPress 2.5 introduced a customizable email API. Since BuddyPress 2.5 you can find a top level admin menu item “Emails” into your WordPress Dashboard main menu. Under this menu item is where you can customize, edit or add new emails.
Let’s take a look at the admin UI for creating, editing and customizing Emails.
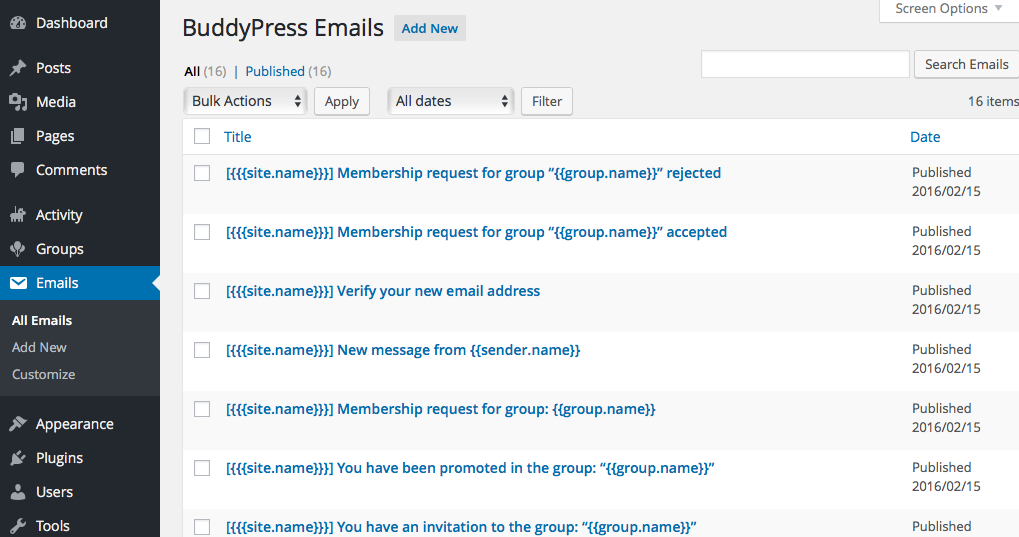
Admin Email List Admin Email List
The Emails feature relies on a WordPress custom post type. Emails are edited and created very much like posts and pages.
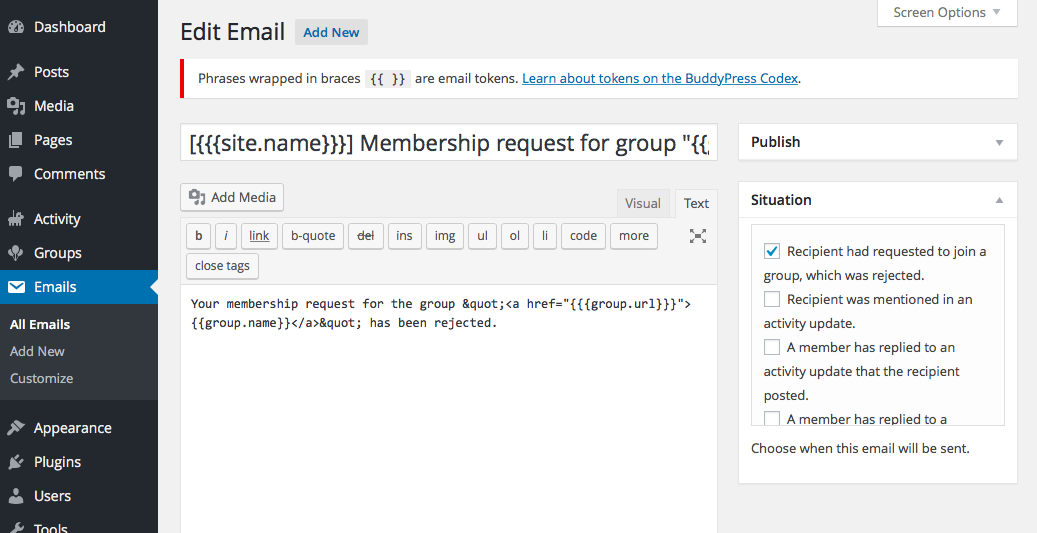
Edit Email Edit Email
Editing an Email is very much like editing a post or page. The main difference here is the use of tokens. Tokens are variable strings that will get replaced with dynamic content when the email gets sent. Read the “Email tokens” sub chapter for more info on the core tokens provided.
The “Situations” meta box is for selecting the action that triggers the sending of an email. Note that not all tokens are available for every situation trigger. Read the tokens documentation page to learn which tokens will work for your selected situation.
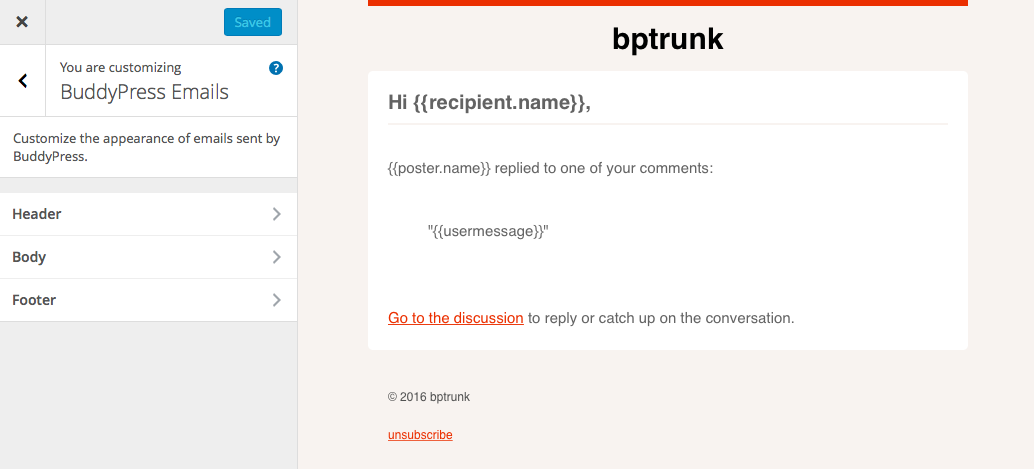
Email Design Email Design
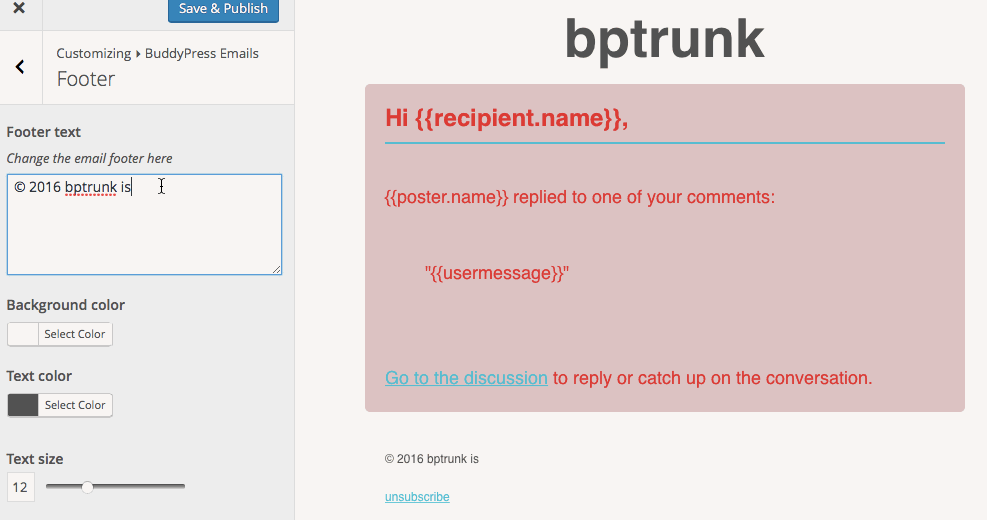
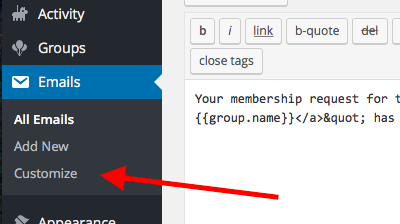
Emails uses the WordPress customizer to edit the look and feel of your emails. The default colors are BuddyPress Orange but you can easily change them to suit your sites branding. Access the email customizer from the “Email” admin menu. Click the “Customize” link and it will open the email customizer.
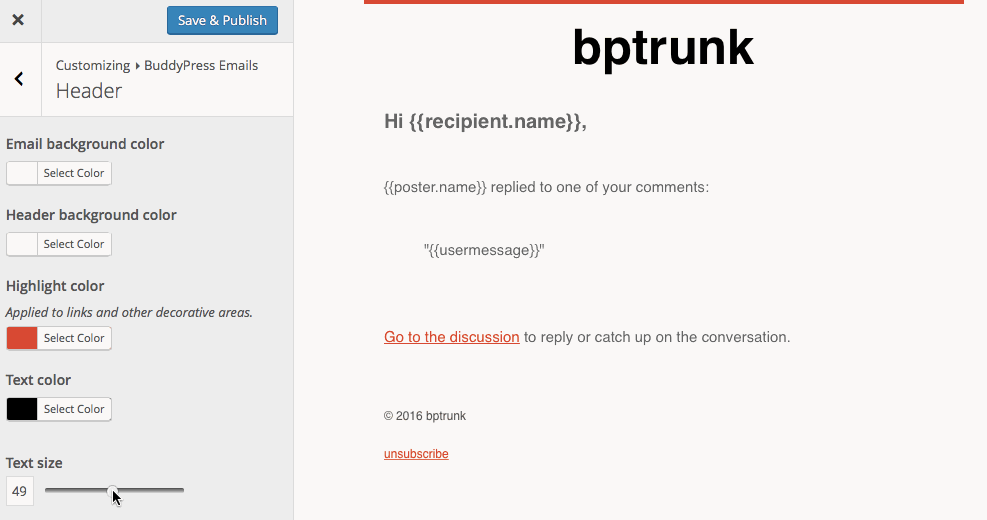
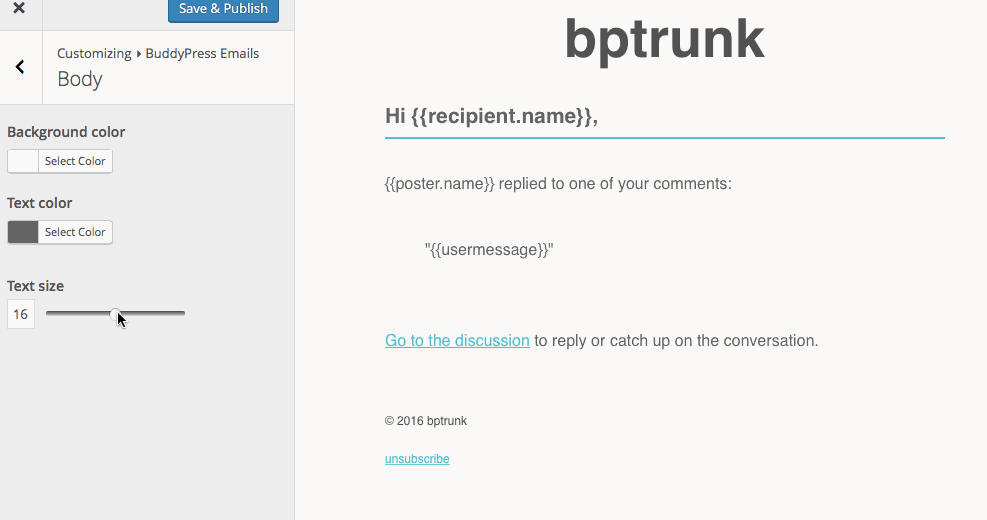
There are three sections that can be edited; header, body and footer. Clicking on a section on the left will open the sub panel to change settings that will customize the email.
Customize Header Customize Header
Options to edit the email header also includes the email background.
Customize Body Customize Body
Customize Footer Customize Footer